Menu
Moving a pool table across the house, or to another house entirely is a dexterous process. Most people like to DIY this procedure, which is commendable, albeit a little risky. If you wish to take this task upon yourself, we strongly suggest that you learn every little detail regarding the procedure.
Moving a pool table requires you to take it completely apart and then put it together again, once moved. Two skills that are required for this task are an organized mind and a handiness with tools. Some muscle power wouldn’t hurt either. While moving a pool table along with 3-4 people is possible, the better decision would always be to hire a professional mover. Bin It Movers in NYC aren’t just trained and professional movers, but they are also armed with all kinds of moving supplies customized especially for different objects. Trust us when we say that calling them for the job would save you from both mental and physical stress.
Of course, with determination and a couple of strong arms, you can move the pool table on your own. Just remember, disassembling the pool table might be more complicated than you thought, the centerpiece is made of actual rock and would be much heavier than you imagined, and most importantly, the surface and corners of a pool table are more delicate than you could imagine. The best way to do this job right is to know everything about it beforehand.
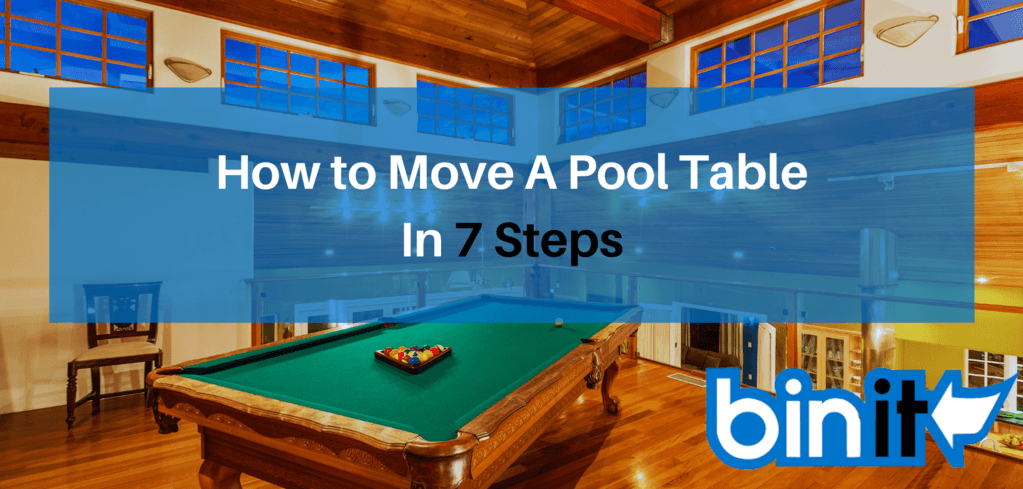
Here’s a guide for you to move your pool table in 7 steps:
Taking the pool table apart is the only way to move it. Try as you might, you cannot move the entire thing in one piece. It’s incredibly heavy, huge to maneuver around doorways, and delicate. Here’s how you can take the pool table apart.
First, remove the six side pockets. You can do so by removing the staples or the screws used to fasten them. Next, remove the rails. You’d need a socket wrench to hold the rails while you unscrew the bolts. Once the bolts are removed, carefully slide out the rails. Make sure you have the right supplies to wrap each of these rails.
Before we move onto the remaining disassembling of the pool table, we must remind you to place all the screws and bolts in a resealable plastic bag with proper labels on them. Wrap all the other separate pieces in a blanket or a soft packing material. The same goes for all the other parts of the pool table. This little organized work will make things easier for you during reassembling and keep the pieces safe during the move.
Let’s continue with our disassembling. After the rails, it’s time to remove the felt. You can’t keep this cloth on because it is susceptible to damage during the move and it has to be done to reach the slate slabs.
There are two ways to remove the felt. If the felt is extremely worn out and you need to replace it anyway, then just rip it off. That’s the easiest and the best way to take care of it.
However, if the felt is new and good enough to stay, then carefully remove the staples holding the felt down and remove it. If the felt is glued to the table, then you need to slowly and patiently move the felt backward to remove it. This might take a lot of time because this can stretch the fabric and make it useless for future use.
These are the most challenging steps of all. Generally, there are three slates in a billiard table to give a leveled surface, but few tables have just one. You can use a power drill or you can manually unscrew the slabs of the slate. Remove each slate slowly and wrap it in a soft material, keep all the screws in a labeled plastic bag.
Be extra cautious because each of these slabs is extremely heavy and made of a rock that is brittle and cracks and chips easily.
The room needs to be spacious, so spacious that it can house your pool as well as other shenanigans in it. You can use visualization apps to help with the decision. A no carpet room is better for stability.
As long as you labeled everything and you and your crew were paying attention during disassembling, putting it back together would be a child’s play. Use your camera to take pictures if you don’t trust your memory to serve you.
While entirely possible, moving a pool table can be a dangerous endeavor and the last thing we’d want is for anyone to get hurt. Some of the pieces of the pool table are incredibly heavy and are a hazard around pets, kids, and even untrained adults. To eliminate these risks, we still maintain the stance that you better call a professional moving company. If for any reason, you can hire professionals, make sure you have at least 3-4 people around you to help you with the task.
In addition to disassembling and moving the pieces, assembling the pool table is just as tricky and if you are not observant, your slate might end up unleveled. If you are short on money, you can always disassemble the pool table yourself and then call the professionals to do the rest. Either way, we trust you to make the smartest decision, one that is also safe for everyone involved. If you need any help, don’t hesitate to reach out to Bin It Movers for their expertise.